Client Private Key and Certificate Installation | |
Root Certificate Installation |
Netscape 4.7 does not support the use of separate certificates for signing and encryption (otherwise known as Dual Certificate support). This separation is widely regarded to be good practice, and should be taken advantage of wherever possible through the use of email applications such as Outlook98 that do support dual certificate operation, together with certificates that are themselves restricted to either encryption or signing operations.
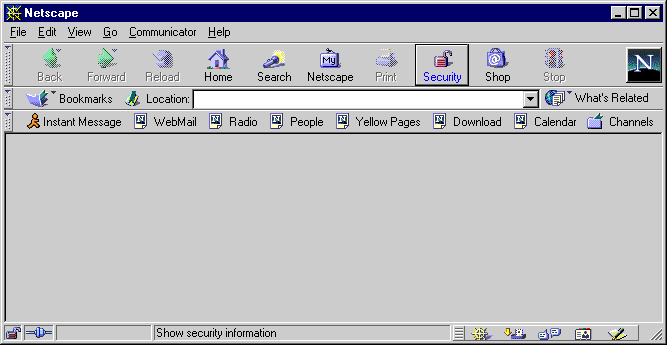
Before you can use Netscape 4.7 for sending signed email and
receiving encrypted e-mail, you need to install your digital certificate. To do
this:
|
|
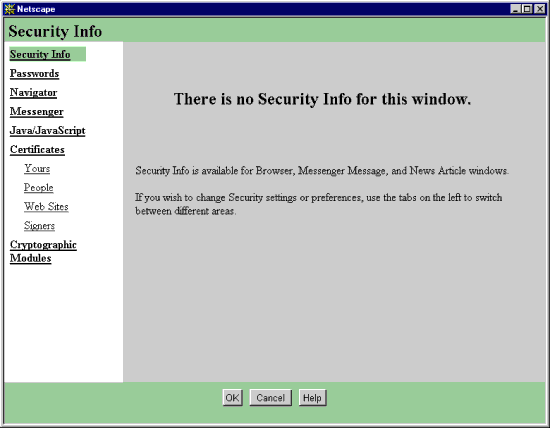
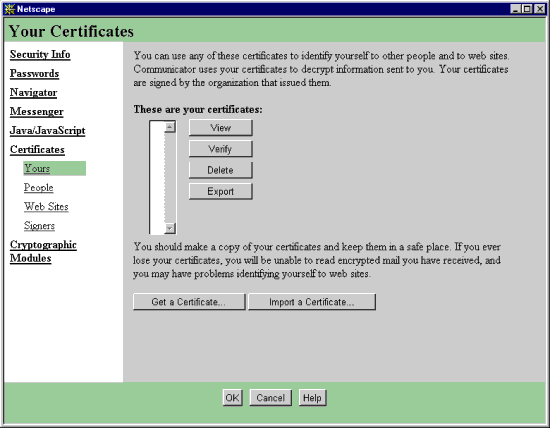
Under the "Certificates" heading, click "Yours" |
|
Click on "Import a Certificate" | |
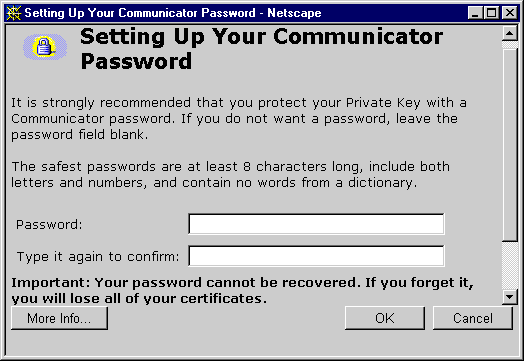
If this is the first time certificates and keys have been
used or imported, the Setting up your Communicator Password
dialog appears. Enter and confirm a user password that will be used to protect access to the key when it is stored in the Netscape database. Click OK when ready. |
|
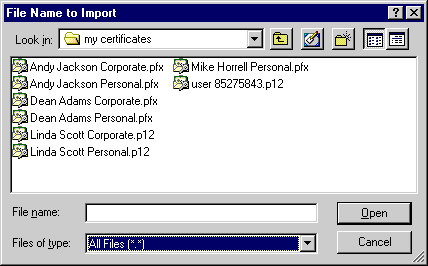
The file name to import dialog appears. (N.B. If one or more certificates and keys are have already been installed, a password prompt will appear. Entering the correct password will start the import dialog.) Change Files of type: to all files *.* and then locate and select either the .pfx or .p12 file to be imported. Click "Open" when ready. |
|
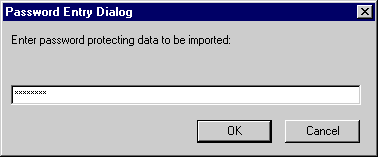
A password is required to be able to open this file.
This will have been supplied to you at some other time via a trusted method. Now is the time to use the supplied password. Enter it into the prompt that appears and click "OK". |
|
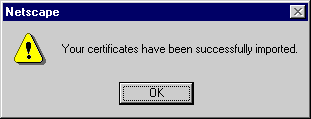
A message will appear confirming success Click "OK" |
|
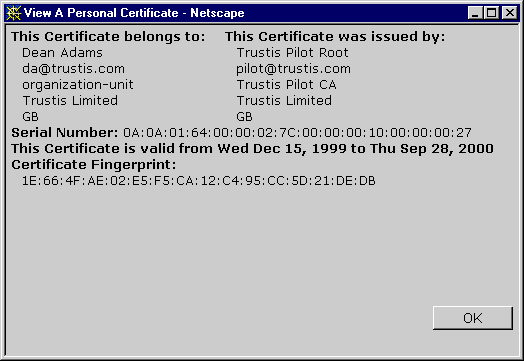
A view of Your Certificates will appear, showing the newly
imported key and certificate. Highlight the new certificate and click "View". A window similar to that shown will appear. Click "OK" to |
|
The Issuing Authority's Root Certificate will very likely
have been installed into Netscape along with your certificate. This is required by
Netscape in order to trust certificates issued by the Issuing Authority (including your
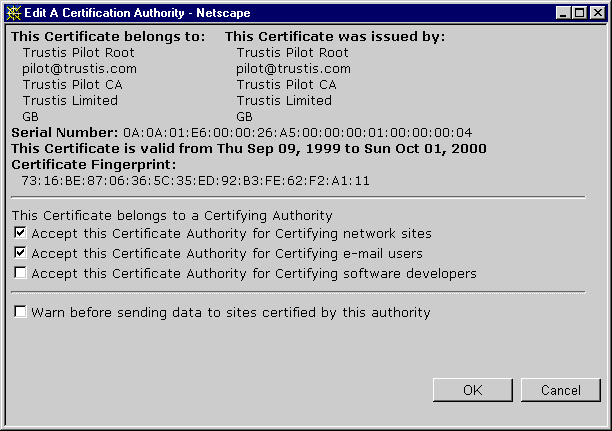
own). Clicking on "Verify" will confirm that the user certificate is intact and can be verified against the root. At this stage, Nescape may declare that the root certificate is not trusted. In this case, under "Certificates" click on "Signers" This will bring up a scrollable list of root certificates for Issuing Authorities, that have been installed into Netscape. Locate and select the root certificate of the Issuing Authority you are interested in, and click "Edit" Note: |
|
The window shown will appear Check only the boxes marked Click "OK" |
|
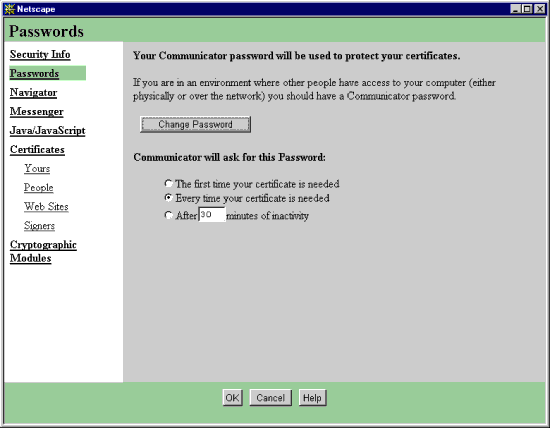
Under "Passwords" in the Security Advisor window,
ensure that the option: "Every time your certificate is needed" is selected. Click "OK" |
The Issuing Authority's Root Certificate will very likely have been installed into Netscape along with your own certificate. This root certificate is required by Netscape in order to trust certificates issued by the Issuing Authority (including your own). If you cannot find the Issuing Authority's root certificate in your "Signers" store, it may not have been supplied with your user certificate. In that case, you need to go to the Issuing Authority's web site and download the certificate from there.
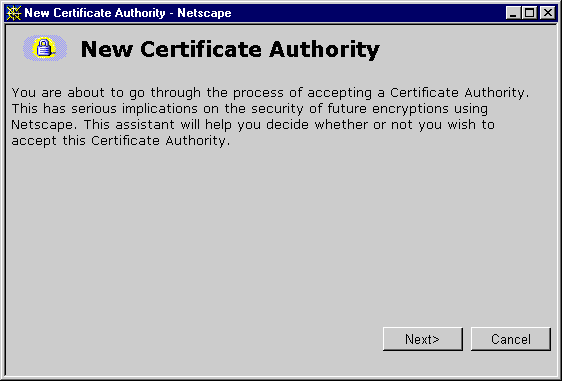
At the Issuing Authority's web site, there should be a clearly labelled link that enables you to download the root certificate.
Clicking on this link will bring up the window shown: Click "Next" |
|
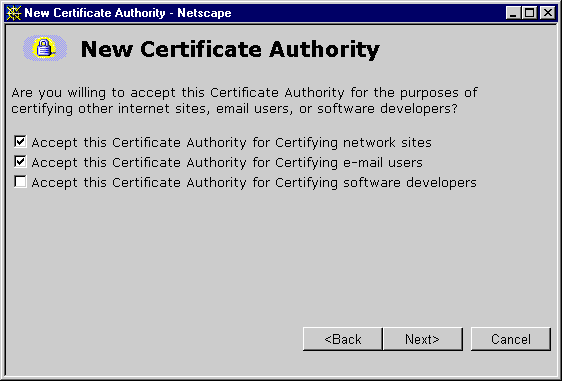
A number of information screens may be displayed Click "Next" until the screen opposite is shown Check only the boxes marked Click "Next" |
|
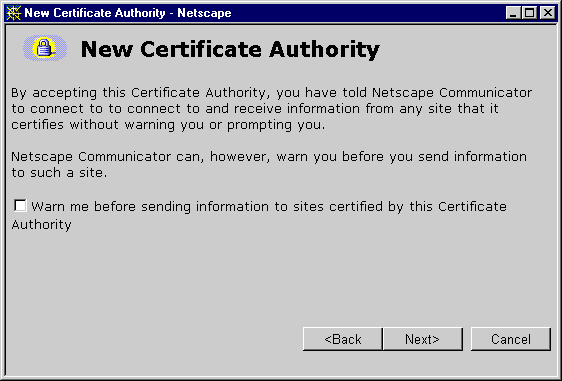
Unless you really do want to be warned, do not check this
box Click "Next" |
|
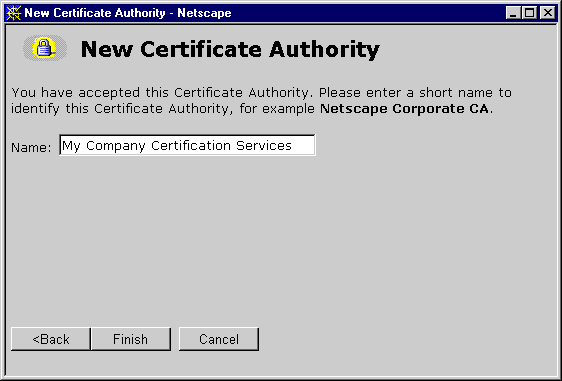
Type a meaningful name for this root certificate. This
is how it will be listed in the Security Info window under "Signers" Click Finish. The root certificate is now installed and trusted. |
Copyright © Trustis Limited 2000, 2001 All
Rights Reserved
This document is licensed for use only in conjunction with the use of Trustis Trust
Services